
Click the links below to navigate directly to that section of the article.
- What is the Assessment Marker Tool?
- Using the Assessment Marker Tool?
- Student Submission Section
- Markup Tool
- Submitting a Score
What is the Assessment Marker Tool?
The Assessment Marker gives teachers the ability to grade student upload submissions easily. This includes the ability to mark up or add notations to student-submitted images, view or download documents, and listen to and grade student audio/video submissions. This tool has a robust search/filter functionality, and it gives teachers the ability to see the original item from the syllabus along with the student submission.
Using the Assessment Marker Tool
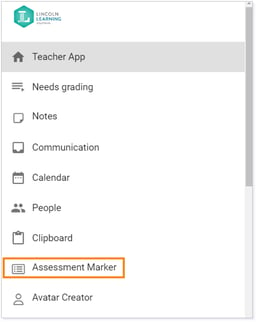
From the teacher Home page, click the Menu and then Assessment Marker.
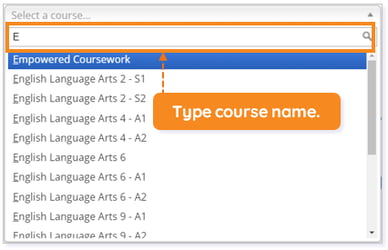
Select a course that you teach. Use the search bar in the course dropdown should you have a long list of courses.
Upon your course selection, a second dropdown will appear with the students in the course. You can Select a student from the dropdown, or you may Show All Ungraded Student Items.

When you Select a student, you will see the student's submitted assignments by default.

NOTE: The Show Submitted button will be blue, and Submitted will be at the bottom of the assignment box. This is how you know you're viewing only submitted assignments. The Show Graded and Show Incomplete buttons will remain teal until you click them to show those assignments as well.
You can filter the results using the Show Submitted, Show Graded, or Show Incomplete buttons. Clicking the button will show specific items based on that filter option. You can reset, re-grade, or submit these items as well.
If a long list of results appears, these results will be paginated, and a list of page numbers will display at the bottom of the screen. The default is eight items shown per page.

If you choose, you can use the Item Filter text box to type a few letters to narrow the list. You can type a few letters from an assignment title, date, or status.
The Show All Ungraded Student Items button shows all ungraded items for a specific course and does not show previously graded or incomplete items. If you opt to Show All Ungraded Student Items, the Show Graded and Show Incomplete filters will be disabled.

You can use the Item Filter option to filter by a student, assignment title, or date.

Student Submission Section
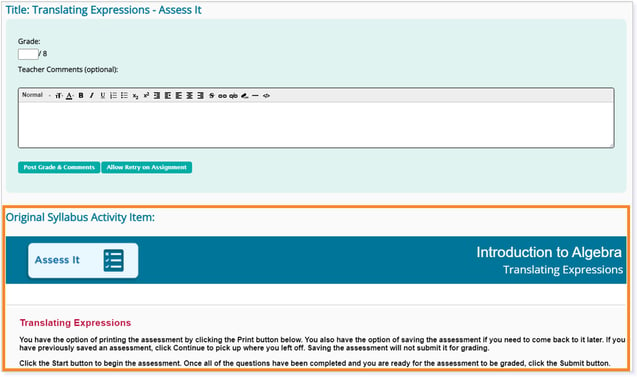
After you choose the course and student, you will see the list of submitted assignments appear on the left. Upon selecting a student assignment, you will be presented with locations to add the Grade (required) and optional Teacher Comments, a student work submission section, and a button to Show Original Syllabus Items.
NOTE: Based on the student attachment type, you may see a play bar, a video player, a download link, or an image editor.
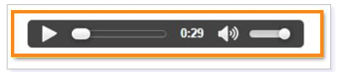
Below is an example of a submitted .mp3 audio or .mp4 video. You will see an inline play bar to listen to or watch the file directly within the page.
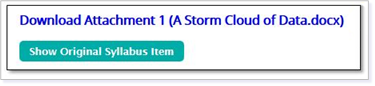
The Show Original Syllabus Item button gives you the ability to see the item requirements without having to leave the page or open another window to find it within the syllabus.

The syllabus item will open below the student submission section.
Markup Tool
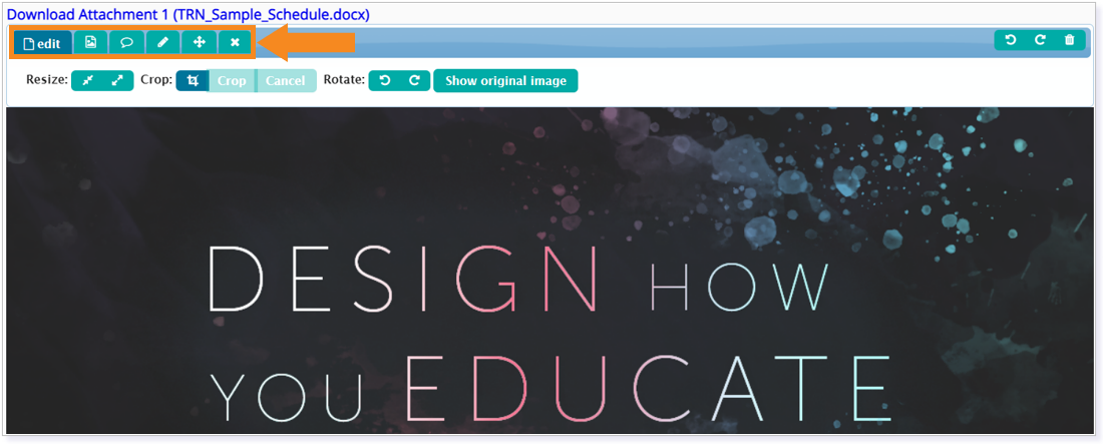
When the student submits an image file, you have the option to provide the student with feedback directly on the image and submit an image as a response. You will be presented with a Markup Tool that has options to crop, rotate, create callout text boxes, add stickers, add freeform drawings, and move or remove added items. The markup toolbar is displayed above the student-submitted image.
Edit Feature
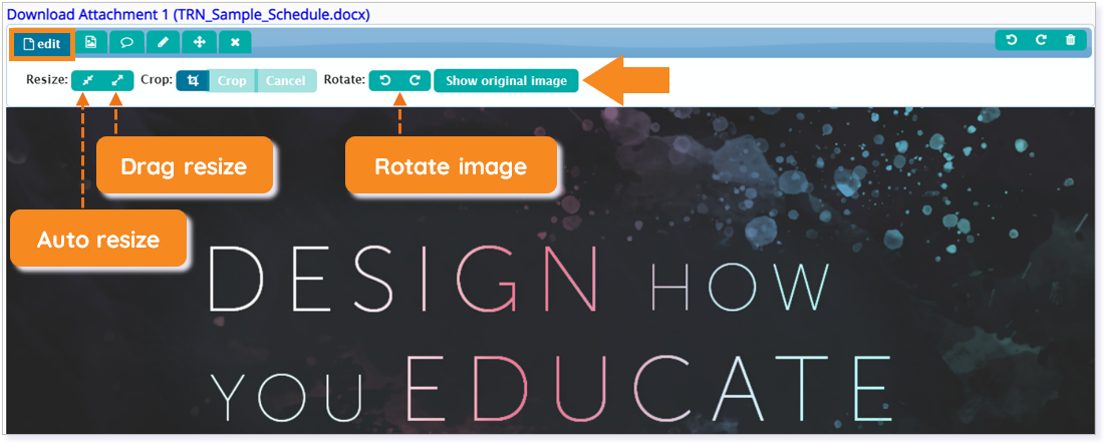
To adjust the size of a submitted image, you can use the Resize buttons under the Edit tab to adjust the image size manually or automatically.
- Select the Edit tab and then the Auto-resize button, and the image will adjust to fit the window.
- Select the Edit tab and then the Drag resize button, and drag the border of the image to change the size.
You can rotate the image horizontally and vertically by clicking the rotate buttons.
If you need to return the image to its original size, click the Show Original Image button. This will remove any adjustments performed on the image, including cropping.
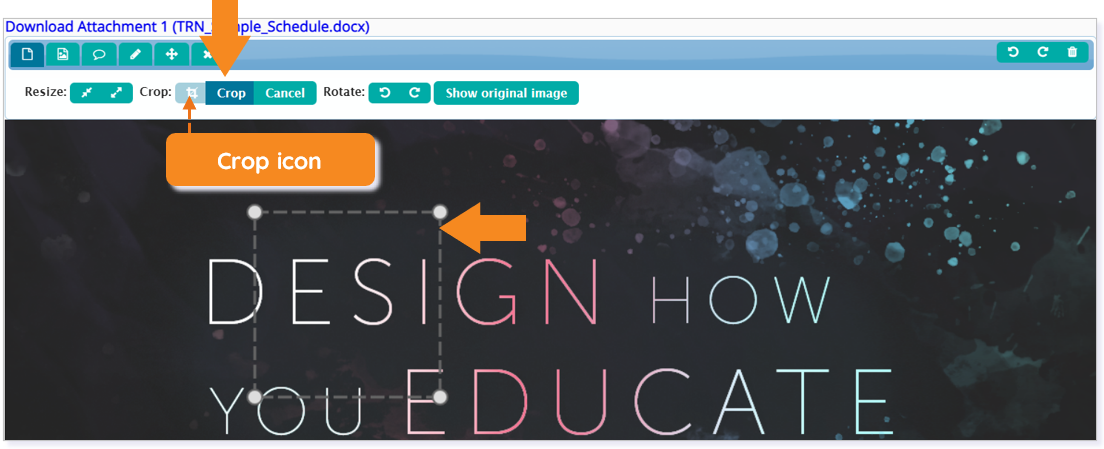
To crop an image, click the crop icon. Then, resize the crop box that will appear over the image to select the portion you would like to crop. Click the Crop button to apply the changes.
Sticker Options
You can place predefined images/stickers on top of the student submission by navigating to the Stickers tab. Eight small pages of icons are available to be added to the student submission; these are updated several times per year.
Simply navigate to the Stickers tab and then select a sticker. It is important to click or tap to select the sticker. Do not drag and drop the sticker from the selection.
Next, place the sticker at your desired location.

Text Feature
You can add text callout boxes to an image which works similarly to stickers. To add a text callout box, navigate to the Text tab, and click the + icon next to New Text. A yellow text callout box will appear; tap on the image where you want to place the text callout box. Once you place the text callout box, you can start typing your text. The Enter/Return key adds a new line.

NOTE: Changes to the Font, Font size, Font color, and placement of the arrow on the text callout box must be done prior to selecting New Text.
Freeform/Draw Options
The Draw tab allows you to use a pencil to draw freeform lines. It also allows you to add a rectangle, circle, and arrow. The stroke size and color of your selected shape can be adjusted.
Navigate to the Draw tab to see a list of tools available. Consider trying the options and the pencil tool within the markup application to understand how you can create freeform drawings or shapes on top of an image.

Move/Remove Feature
To move an existing text callout box, shape, or sticker, simply navigate to the Move tab. Click and drag the item to move it to your desired location.
To remove an item before submission, select the Remove tab - the X icon - and click or tap on the item that you want to remove. The item will clear.

Undo/Redo/Clear Options
You also have the option to undo or redo an action. You can clear all markup items off of the image and start over if you choose. The buttons for these features can be found on the right portion of the markup tool.
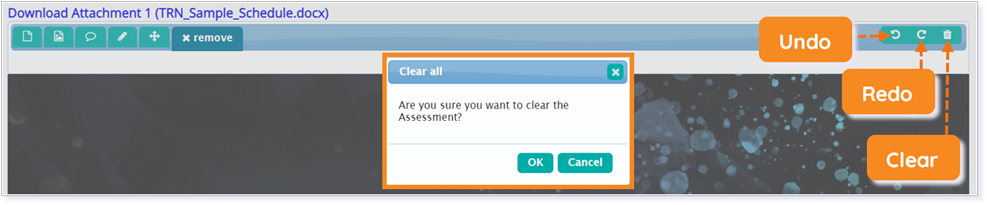
NOTE: When you select Clear, a popup box will appear asking Are you sure you want to clear the Assessment? Click OK to remove all markup items; click Cancel to return to the image.
Submitting a Score
Below the Student Comments box are two buttons: Post Grade & Comments and Allow Retry on Assignment.

Click Post Grade & Comments to submit the grade and optional comments to the gradebook. The assignment will now be marked as graded.

Reset a graded item by clicking the Allow Retry on Assignment button. This will allow the student to submit another attachment and try the item again.
Click here to return to the top of the article.
Please note the images found in this resource may not match your screen. Access and/or features may vary based on client contract.
© 2025 Lincoln Learning Solutions. All rights reserved.