This article instructs Pulse client admins on how to complete bulk tasks relating to mentors.
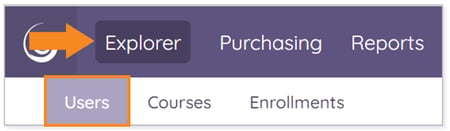
As a client admin in Pulse, you have the ability to complete a variety of tasks related to mentors in bulk. Each of these tasks take place in the Users tab of Explorer.
From here, you can:
- Bulk import mentor creation
- Bulk import student mentor association
- Make bulk changes to mentor details
Bulk Importing Mentor Creation
When creating a larger amount of new mentors in Pulse, you may want to bulk import the creation of mentors.
TIP: Click here for written directions.
Click the Play button below to view the Bulk Importing Mentor Creation from Users video.
Run Time: 04:12
IMPORTANT: Each bulk import should only include new data.
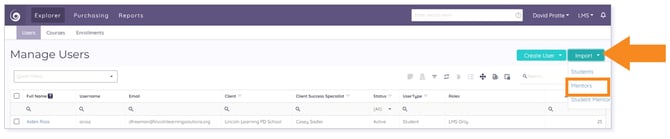
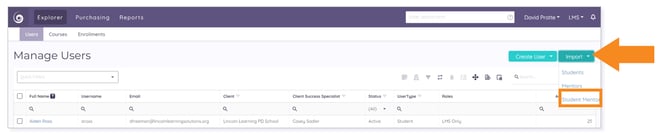
Click Import. Then, select Mentors from the drop-down list.
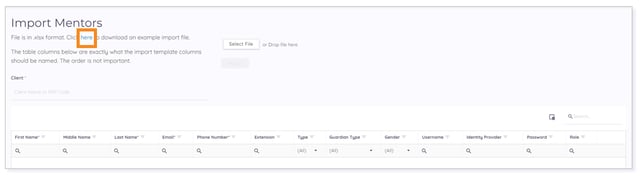
The Bulk Import Mentors modal (pop-up window) displays. Click Download an example import file.
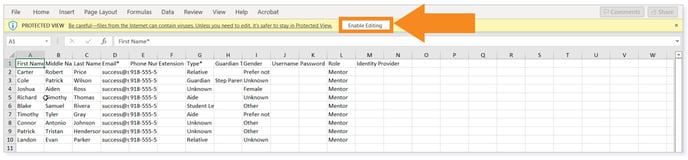
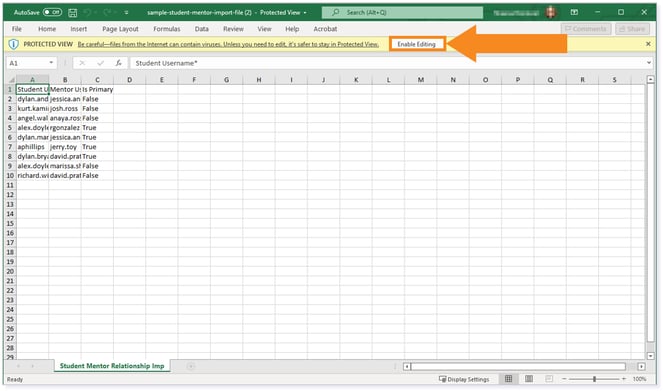
Open the Excel file and click Enable Editing.
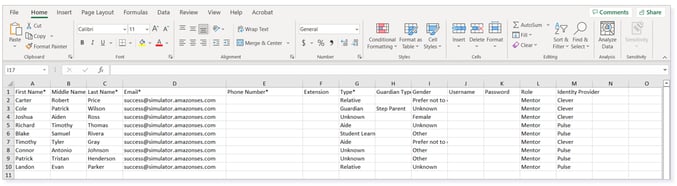
Clear the existing data fields in the sample file and replace the data with your own information.
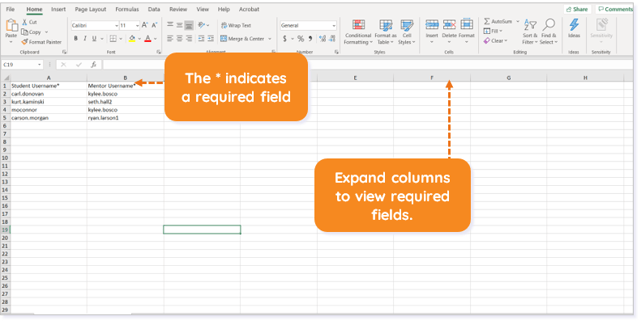
TIP: Expand your columns to verify which fields are required.
WARNING: All column headings in row 1 must remain in the file, even if you are not inputting data in all columns. Additionally, column titles with an asterisk * denote required information (i.e., First Name, Last Name, Phone Number, Email, Type). Data must be entered in these five required columns.
NOTE: If Guardian is chosen, a Guardian Type may be chosen.
IMPORTANT: Selecting School Contact, Student Learning Advocate/Liaison, Aid, or Proctor will automatically give the mentor Client Mentor permissions. Selecting Guardian, Unknown, Aide, Proctor, Parent, or Relative will automatically give the user Mentor permissions.
NOTE: If using a single sign-on configuration, type the identity provider in the corresponding cell. If not using single sign-on, type Pulse.

Optionally, enter data in the Username column.
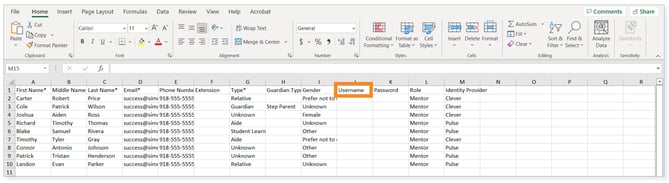
IMPORTANT: If a username is not assigned in the spreadsheet, one will automatically be generated by the system upon user creation (i.e., firstname.lastname). Additionally, if a username already exists in the system, the number 1 will be appended to the assigned username (e.g., firstname.lastname1). If two or more users with the same username exist, the system will append the appropriate number to the end of the assigned username.
Optionally, assign a Password to each mentor.
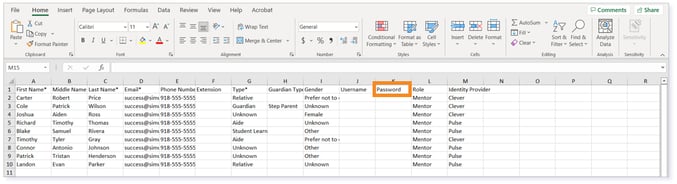
IMPORTANT: If a password is not assigned upon user creation, the system will send the mentor a temporary password in the user creation email sent to the provided address. The mentor will then have the option to change the password. If a password is assigned upon user creation, the user creation email will not contain a temporary password, and the password entered in the Password column of the upload file must be shared directly with the mentor.
Optionally, enter information in the remaining columns.
NOTE: Any fields left blank in the optional columns of the upload file will be autogenerated by the system upon user creation. If contact information is not provided, it will default to the client's contact details when the user is created in the system.
IMPORTANT: Remember to save and close the file before importing.
TIP: Add the date to the filename when saving to keep your details organized.
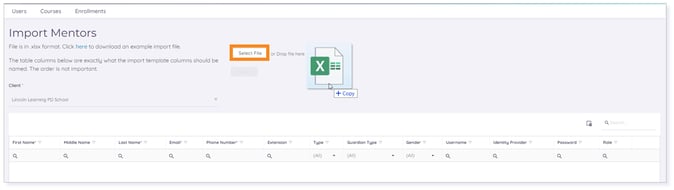
Return to the Bulk Import Mentors modal in Pulse. Begin to type your Client name. Then, select the appropriate client from the list.
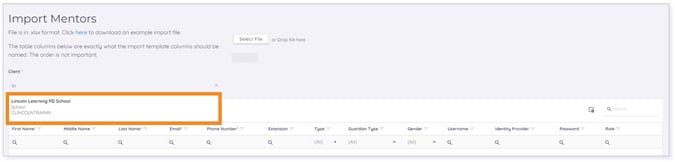
Select file. Or, drag and drop the upload file from your desktop.
IMPORTANT: The mentor import file must be uploaded as an .xlsx file. All other files will create an upload error.
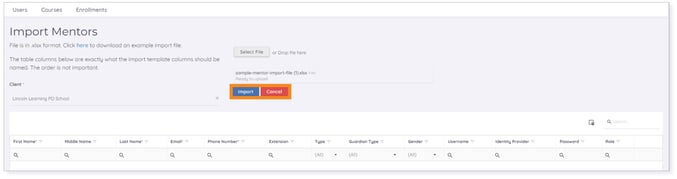
Select import to upload the file. Or, cancel to remove the import file.
The imported mentor users will populate in the data grid. If the user information is correct, the Is Valid box will have a check mark.
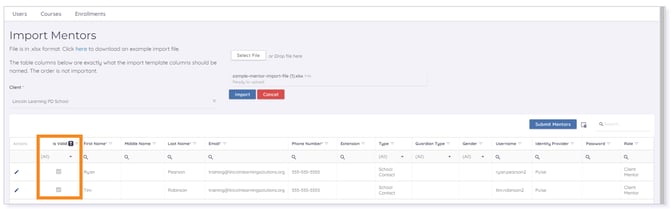
IMPORTANT: If an Is Valid box is unchecked, the data is incorrect and did not upload. Correct the data in the file and import again.
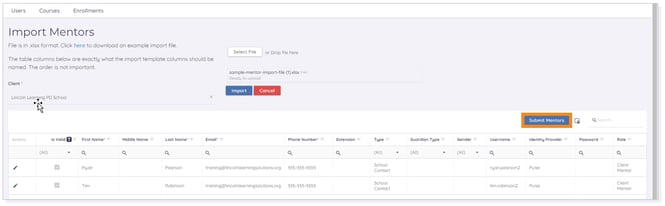
When ready, click Submit Mentors.
A confirmation message displays indicating the successful submission of imported mentors. Your bulk import is now ready for approval.
IMPORTANT: Please allow 24 hours for your bulk creation imports to be approved. An email will be sent notifying you when these records are approved or rejected.
Click here to return to the top of the article.
Bulk Importing Student Mentor Association
If you need to associate a large number of students to mentors, you may want to bulk import the student mentor association through an upload file.
IMPORTANT: This functionality only works when both student and mentor user accounts have already been created in Pulse.
TIP: Click here for written directions.
Click the Play button below to view the Bulk Importing Student Mentor Association from Users video.
Run Time: 02:45
Click Import. Then, select Student Mentors from the drop-down list.
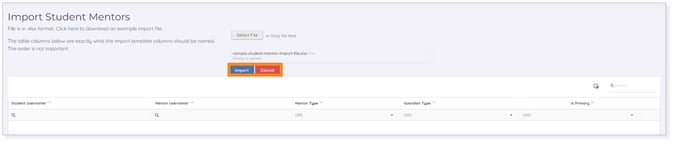
The Bulk Import Student Mentors modal (pop-up window) displays. Click Download an example import file.
NOTE: This action allows you to download and access a sample Excel template that you can revise for your own import file.

Open the Excel file and Enable Editing.
TIP: Expand your columns to easily enter your data.
WARNING: All column headings in row 1 must remain in the file. Additionally, column titles with an asterisk * denote required information (i.e., Student Username and Mentor Username). Data must be entered in these two required columns. Optionally, you can denote whether the mentor is the primary mentor by typing True or not the primary mentor by typing False in the Is Primary column.
IMPORTANT: Remember to save and close the file before importing.
TIP: Add the date to the filename when saving to keep your details organized.
Return to the Import Student Mentors modal in Pulse. Select file. Or, drag and drop the upload file from your desktop.

If there are no errors or missing required fields in the upload file, your file will read Ready to upload.
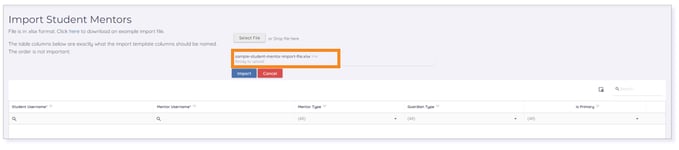
When ready, click Import or Cancel to choose another file.
The imported student mentor associations will populate in the data grid. If the user information is correct, the Is Valid box will have a check mark.
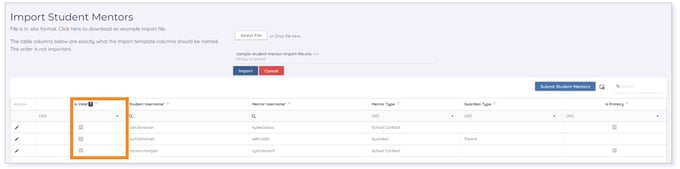
IMPORTANT: If an Is Valid box is unchecked, the data is incorrect and did not upload. Correct the data in the file and import again.
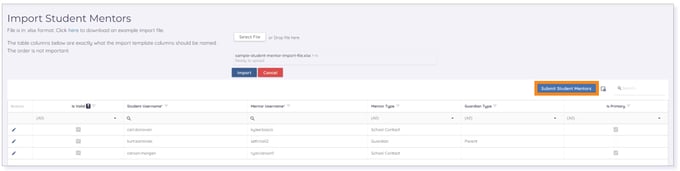
When ready, click Submit Student Mentors.
A confirmation message displays indicating the successful submission of imported mentors. Your bulk import is now ready for approval.
IMPORTANT: Please allow 24 hours for your bulk creation imports to be approved. An email will be sent notifying you when these records are approved or rejected.
Click here to return to the top of the article.
Making Bulk Changes to Mentor Details
If you need to make the same change to multiple mentors, you will want to take advantage of the bulk update feature.
TIP: Click here for written directions.
Click the Play button below to view the Making Bulk Changes to Mentor Details video.
Run Time: 02:10
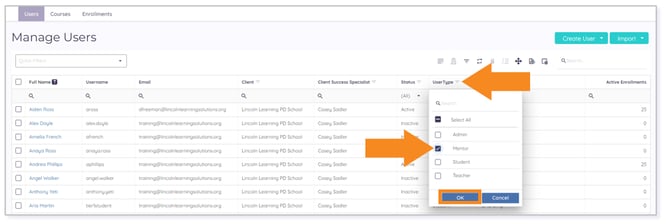
Click the User Type filter icon. Check the Mentor box. Then, click OK.
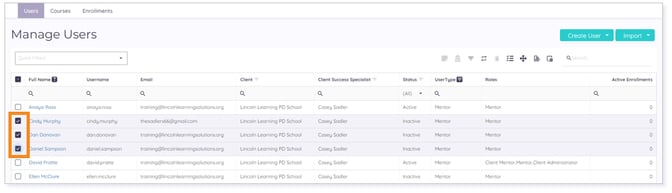
Check the multi-select boxes for the mentors whose details you wish to change.
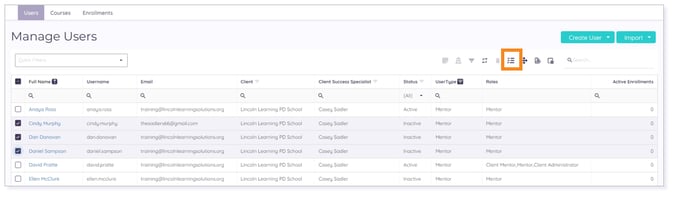
Once you have selected your mentors, click the Bulk Update icon.
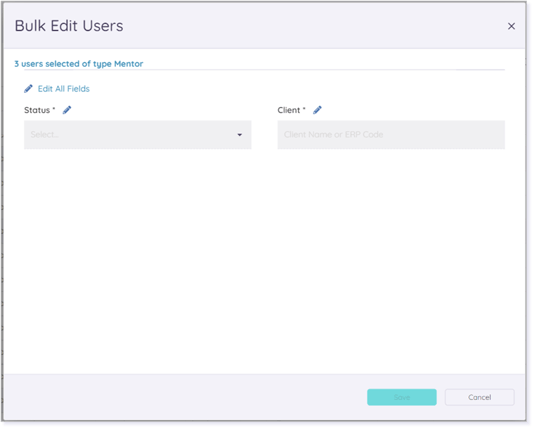
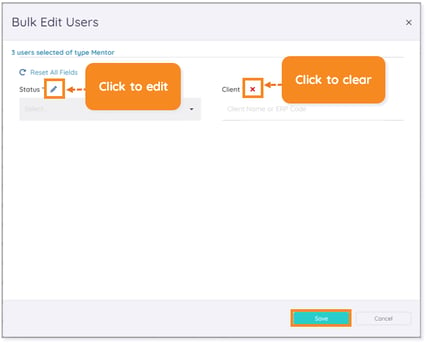
The Bulk Edit Users modal (pop-up window) displays.
NOTE: Any field that can be changed displays in the modal.
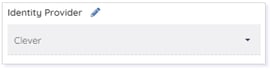
IMPORTANT: The Identity Provider field will only populate for users who are within the same client.
Click the pencil icon to edit a field. Click the X to clear a field. When you have edited all fields you wish to change, click Save.
TIP: Click Edit All Fields to open all fields for editing.
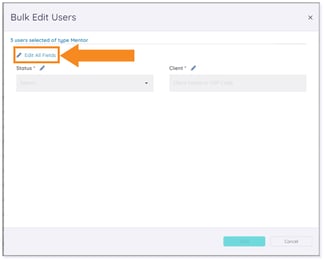
IMPORTANT: If you use the Edit All Fields tool, you must click the X for each individual field you wish to clear.
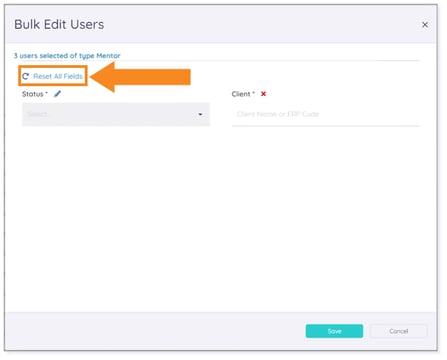
If you need to start over, click Reset All Fields to clear all fields at once.
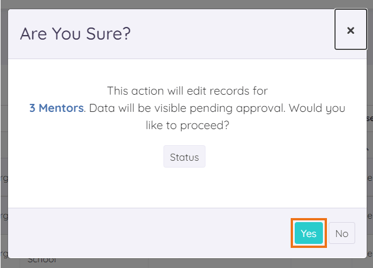
Once you have made and saved all desired changes, a pop-up confirmation modal displays with a message indicating the number of Mentor records being changed. The field(s) you are changing display in the box beneath the message. Review the information. Then, click Yes to confirm the changes.
A confirmation banner displays at the top of the data grid. Your bulk changes are now ready for approval.
IMPORTANT: Please allow 24 hours for your bulk changes to be approved. An email will be sent notifying you when these changes are approved or rejected.
Click here to return to the top of the article.
Please note the images found in this resource may not match your screen. Access and/or features may vary based on client contract.
© 2025 Lincoln Learning Solutions. All rights reserved.