
Accessing the Avatar Creator
You can create a customized avatar by selecting the Avatar Creator from the Main Menu.

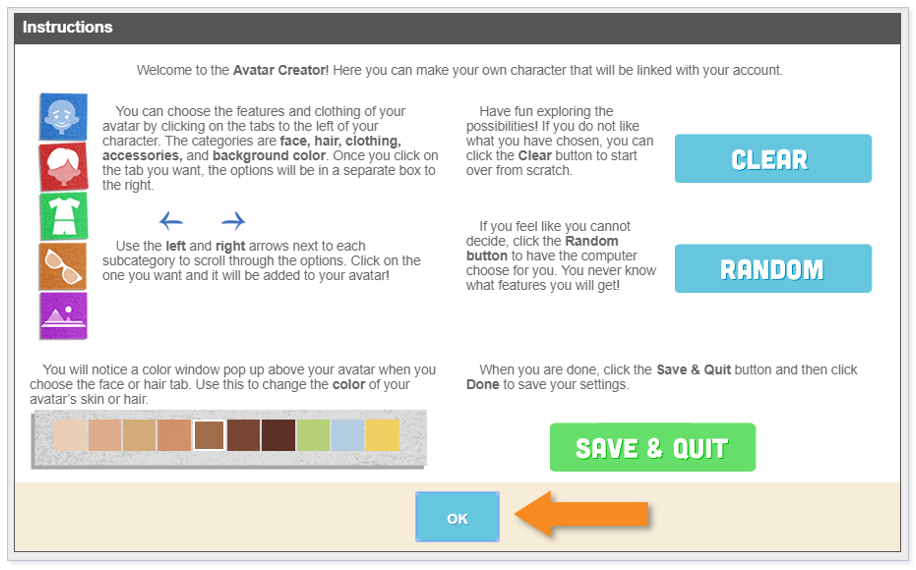
When the instructions appear, click OK to begin creating your avatar.
NOTE: The instructions only pop up the first time you create your avatar. If you would like to access them again, click the question mark in the upper right-hand corner.
Customizing Your Avatar
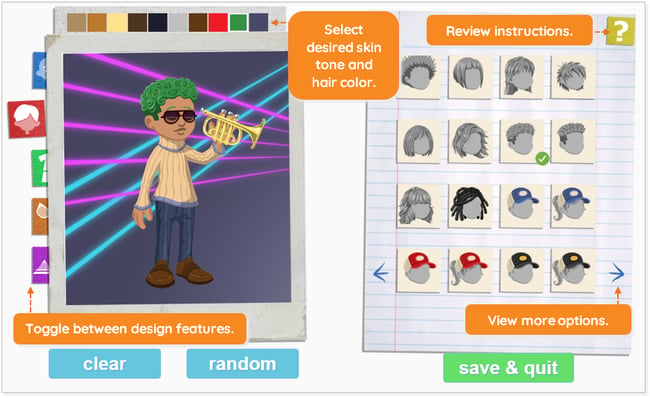
- Use the tabs on the left side to flip between face, hair, clothing, accessories, and background.
- Use the color bar above the image to select hair colors and more.
- On the right side of the screen is a list of options you can click through and preview. You may use the arrow when applicable to flip between different pages of options.
- Click on the random button to create a random avatar. The clear button clears all selections.
- You can access the instructions again by clicking the question mark in the upper right corner of the screen.
Saving Your Avatar
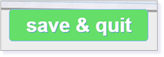
Once you have finished creating your avatar, click the save & quit button.
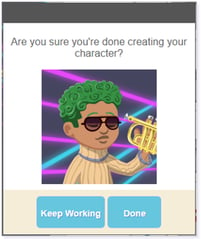
A popup will appear asking you if you are sure you are done. Click Done if you have finished making your avatar or select Keep Working if you have changes to make.
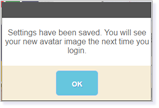
After you click Done, a pop-up appears to tell you that the image has been saved and will be visible the next time you log in.
Viewing Your Avatar
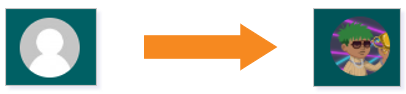
The next time you log in, your avatar should replace the blank image beside your name.
You can go back into the Avatar Creator at any time to change your avatar.
Please note the images found in this resource may not match your screen. Access and/or features may vary based on client contract.
© 2025 Lincoln Learning Solutions. All rights reserved.