This article explains how to create and auto-assign badges to students.
WHAT ARE BADGES?
Badges in Buzz can be used to reinforce positive behavior, encourage students, and promote interaction between teachers and students on a personal level. There are numerous badge options. Teachers can also create badges and manually award any badge to a student at any time. Badges can also be auto-assigned to students at certain stages of the course (for example, upon completion of Mastery Assess It 1).
CREATING YOUR OWN BADGES
You can create your own badge from images saved as .PNG files. Be sure to save images accordingly.
From the teacher dashboard in Buzz, select a course in which you want to place a badge. Open the Editor for that course.
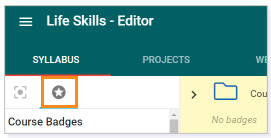
Once in the Editor of the course, click the tools icon.

Choose Course settings in the Tools menu.

Scroll to find the Badges tile.
Click CREATE BADGE.

To upload the badge into Buzz, fill in the information as shown below, then click SAVE BADGE.
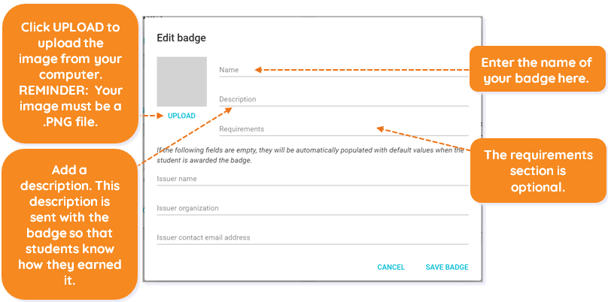
NOTE: The spaces below the Requirements section can be left blank.
Click SAVE to save the badge and exit the Course settings.

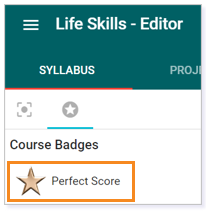
Now the badge will appear under Course Badges. You can auto-assign it or assign it manually.
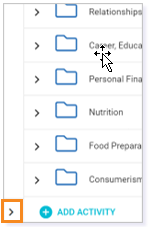
If the left-hand panel of the Editor is minimized, click on the chevron at the bottom to expand the panel.
Click the Badges tab.
You now see your badge under Course Badges.
IMPORTANT: Teacher-created badges must be uploaded into each course separately. These are not universal badges; therefore, the badges will not appear across your courses unless the process is completed for each course.
AUTO-ASSIGNING BADGES
Drag and Drop
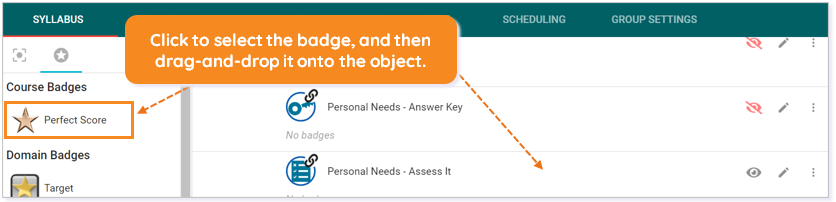
Select, drag, and drop the badge from the list on the left to the target folder or activity. Students will automatically receive the badge upon successfully completing that folder or activity.
The names of the badges to be auto-assigned will show beneath the item in the Editor.

Activity Editor
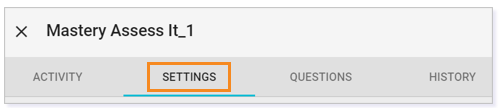
Badges can also be set to auto-assign via the Activity Editor. Click the pencil icon to the right of the item to edit it.

From there, navigate to the SETTINGS tab.
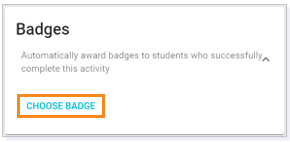
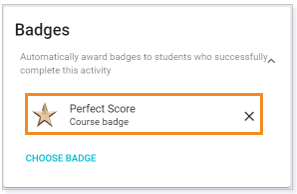
Locate the Badges tile. Click the drop-down arrow to be prompted to choose a badge. Click CHOOSE BADGE.
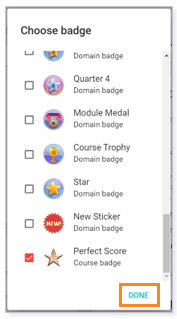
From here, check the box(es) of one or more badges you wish to auto-assign.
When all the desired badges have been auto-assigned, click DONE.
The chosen badge(s) will appear under the Badges title.
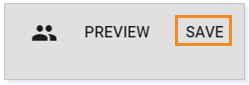
Click SAVE to save the changes.
Please note, the images that may be found in this resource may not match your screen.
This is a Lincoln Learning Solutions product. Access/features may vary based on client contract.
© 2021 Lincoln Learning Solutions. All rights reserved.