This resource explains how to create periods in a course in Buzz and how to assign Assess Its to the appropriate period.
NOTE: Creating periods in a Buzz course allows client teachers to view grades based on semesters, trimesters, quarters, etc.
IMPORTANT: Periods created in a course are not reflective of grading periods being associated at the domain level. Additionally, these are specific to the course level.
Click the Play button below to get started, or read the written directions below.
Run Time: 06:12
RENAMING PERIODS AND CHANGING PERIOD WEIGHTS
Go into the Editor of a course.
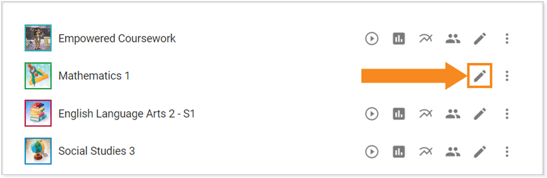
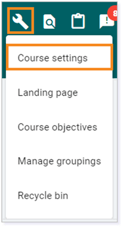
Then, click on Tools and go to Course settings.
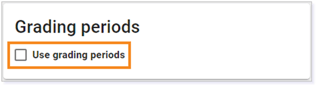
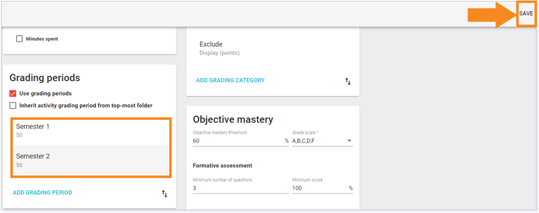
Scroll down to the tile labeled Grading periods. Click on Use grading period.
Four grading periods will display. To remove a period, click on the period and click REMOVE THIS GRADING PERIOD.
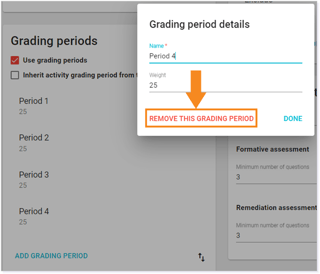
TIP: For two equal semesters, delete Period 3 and Period 4 and rename Period 1 as Semester 1 and Period 2 as Semester 2. Then, change the weight of each period to 50. For trimesters, delete Period 4 and change the weight of Periods 1 and 2 to 33 each and change the weight of Period 3 to 34.
Once you have renamed the periods and set the weights, click SAVE in the upper right-hand corner. These semesters are not set in the course.
DIVIDING ACTIVITIES BY PERIOD
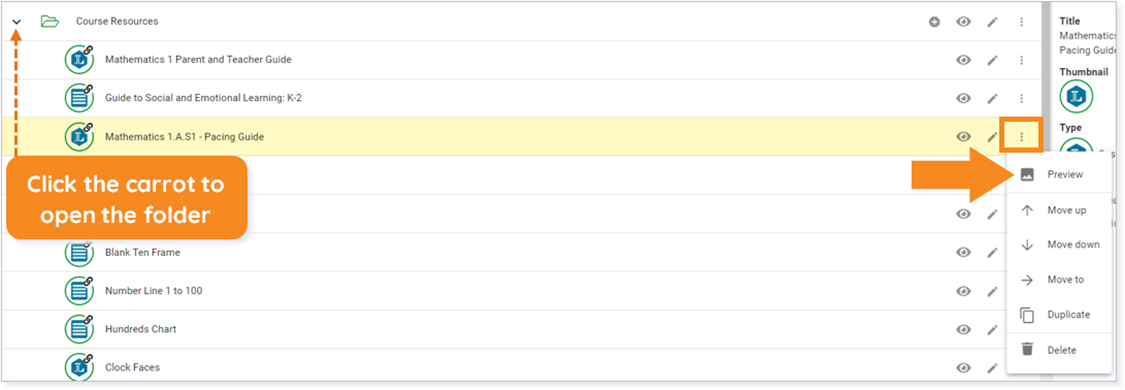
Open the Course Resources folder. Locate the Pacing Guide, click the three dots to show more options, and click Preview.
The Pacing Guide will now show on your screen. Scroll through the Pacing Guide and locate the Topic Folder, Lesson Number, and Lesson Name which will be the last one before the period break. In this example, Lesson 90 will be the last lesson in Semester 1 as Lesson 90 is the standard semester break in a 180-lesson course for Lincoln Learning.
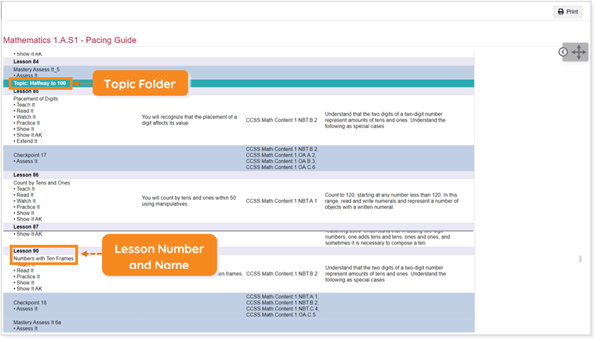
IMPORTANT: You will need this information to know which topic folders need to be added to Semester 2.
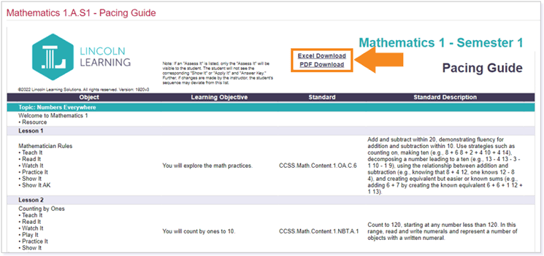
TIP: To download a copy of the Pacing Guide, click the Excel Download or PDF Download links at the top of the Pacing Guide.
Return to the Editor by clicking the arrow in the upper left-hand corner of the Pacing Guide.

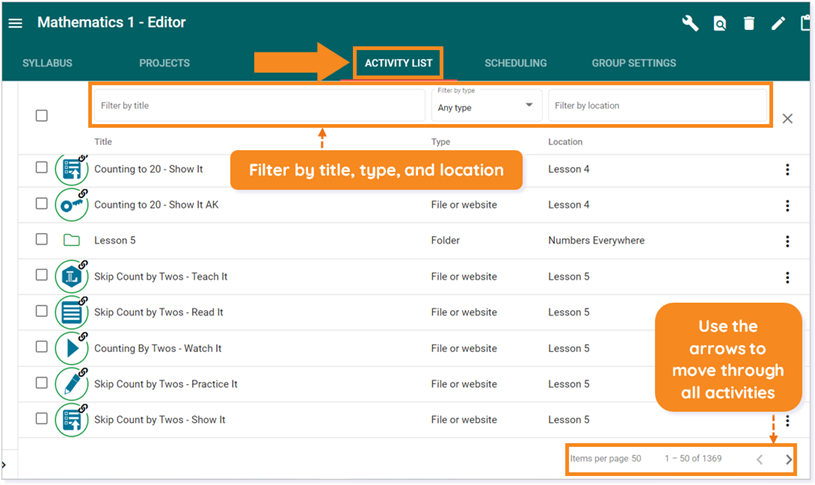
Next, click ACTIVITY LIST to show all activities for the course in order. Click the arrows in the bottom right to move through the pages of activities. Use the filter fields at the top of the page to Filter by title, Filter by type, or Filter by location.
Type Assess into the Filter by title field. Then, identify the Assess It activities that will be added into Semester 2 (for this example, all Assess Its after Lesson 90) and click the box to the left of the activity title.
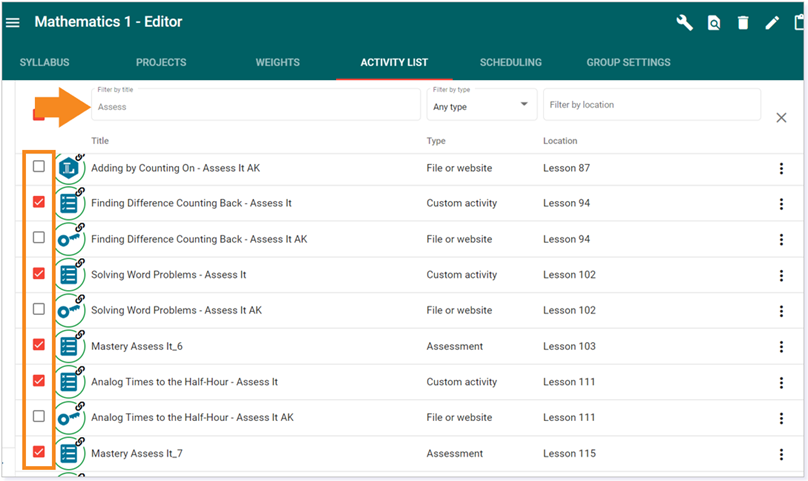
IMPORTANT: Select only Assess It activities and not Assess It AK activities.
NOTE: You may need to use the arrows in the bottom right corner to select all Assess It activities.
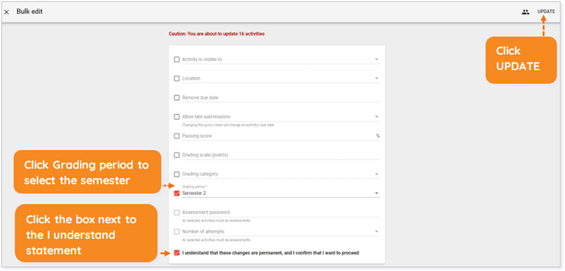
Click the pencil icon in the top right corner to Bulk edit.

In Bulk edit, click Grading period and select Semester 2. Then, click the box next to the I understand statement at the bottom and click Update in the top right corner. These activities have now been moved to Semester 2.
NOTE: Adjusting settings at the activity or assessment level may block global updates if applied, or updates must be applied manually post adjustment of settings at the activity or assessment level.
Please note, the images that may be found in this resource may not match your screen.
This is a Lincoln Learning Solutions product. Access/features may vary based on client contract.
© 2022 Lincoln Learning Solutions. All rights reserved.