
Files & Notes is a feature in Pulse that allows users to upload or input information unique and specific to that user.
Navigating to Files & Notes
Regardless of user type, navigating to Files & Notes is the same.
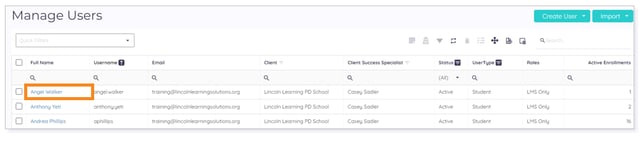
In the Users tab, search for the user whose record to which you would like to add a file or note.
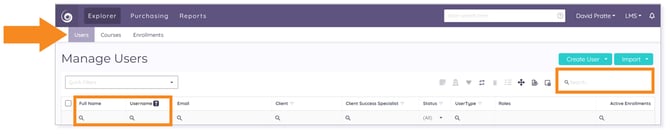
Click the Full Name hyperlink to open the user record.
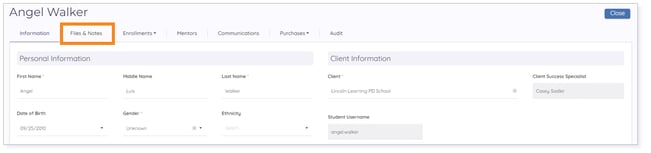
The user’s Information record displays. Click the Files & Notes tab.
IMPORTANT: Students and teachers will have both the option to upload a file and create a note. Mentors and admins only have the option to create a note.
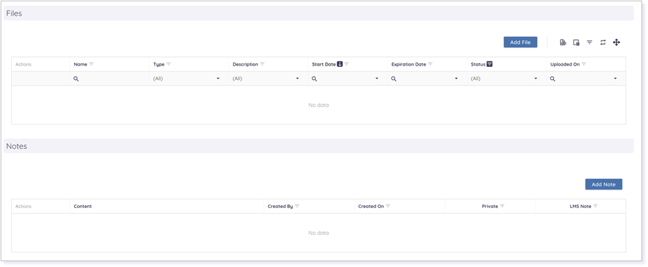
Files
Files are documents you upload from your computer to assist admins, teachers, and mentors to better assist the student. This could be state assessment results, an IEP, etc.
Uploading a File
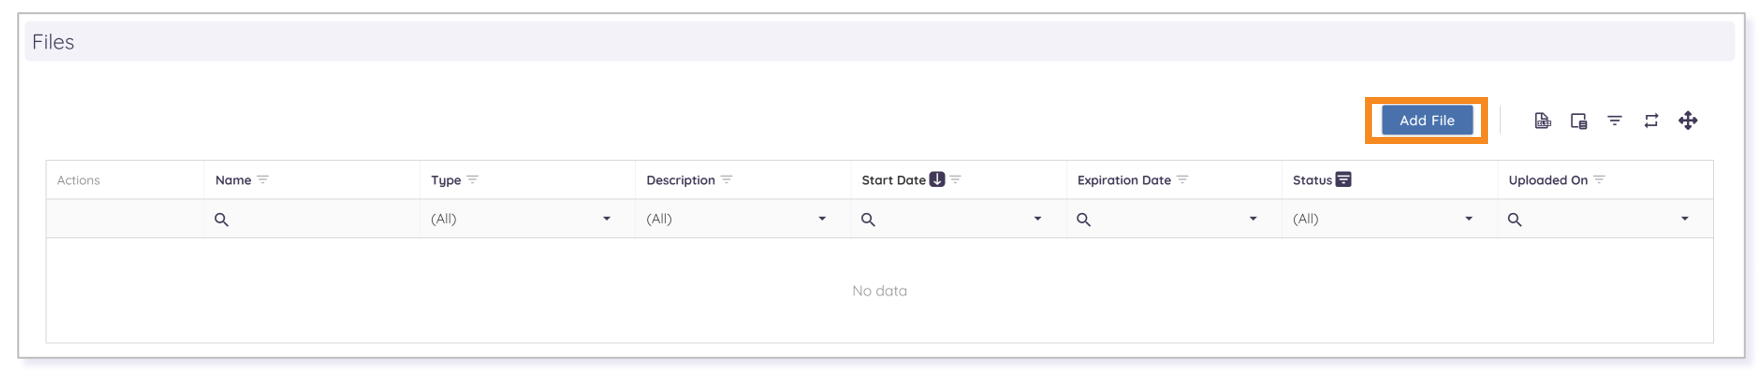
In Files & Notes, Click Add File. Select the file from your computer.
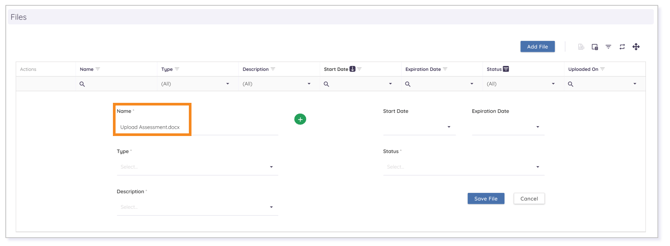
NOTE: When it is uploaded, the filename appears in the Name field.
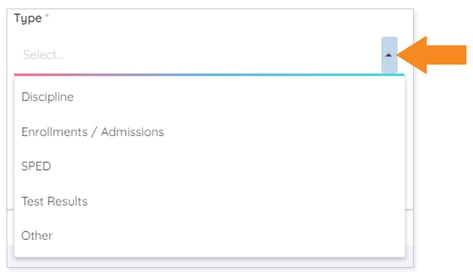
Assign a file Type by clicking the drop-down arrow and selecting an option from the list.
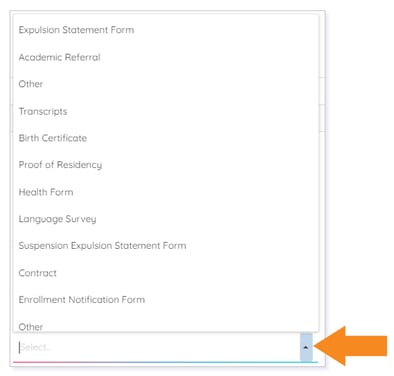
Assign a file Description by clicking the drop-down arrow and selecting an option from the list.
NOTE: Description options populate based upon the chosen file Type.
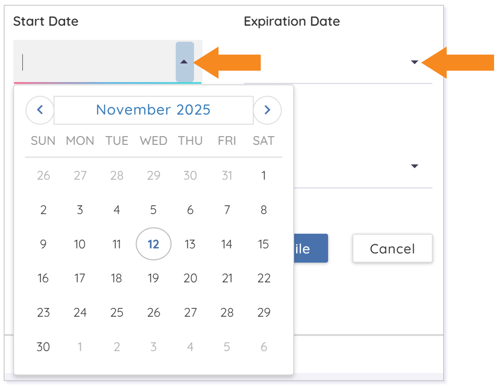
Assign a Start Date and Expiration Date by clicking the drop-down arrow and selecting the dates using the calendar tool. Or, type the dates using MM/DD/YYYY format.
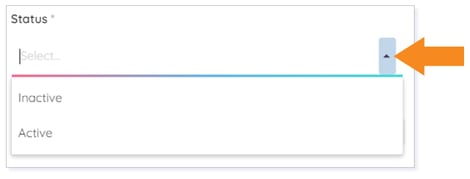
Assign a Status to the file by clicking the drop-down arrow and selecting an option from the list.
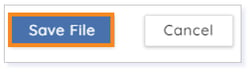
Click Save File.
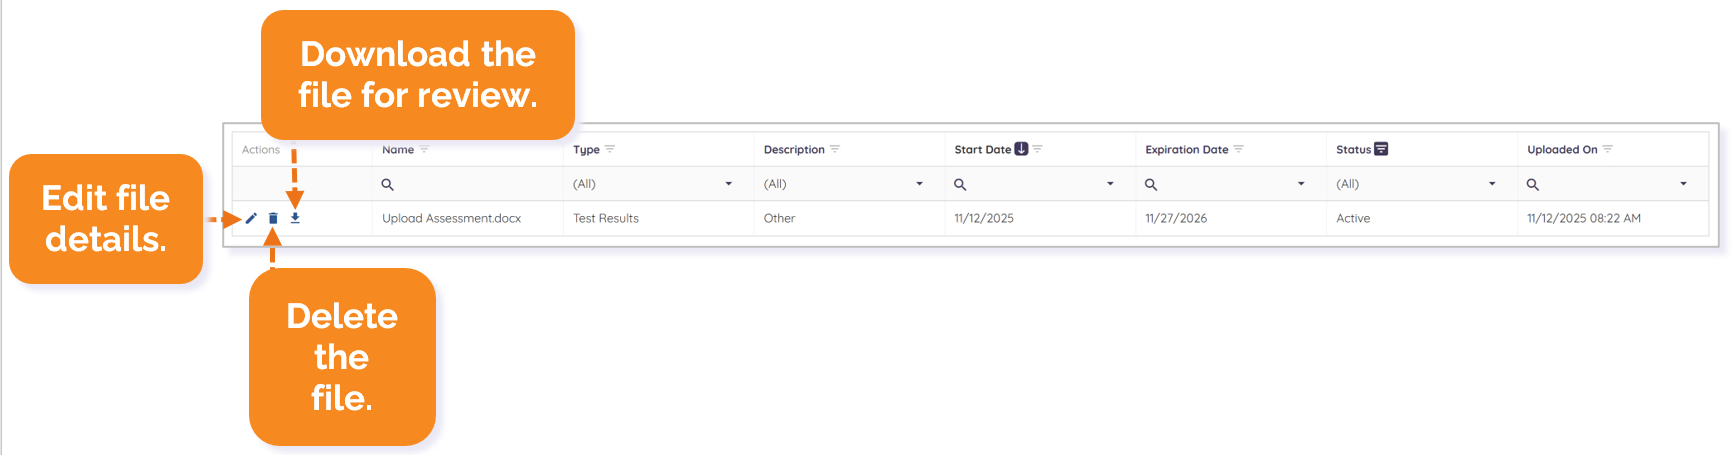
 Other File Options
Notes
Notes are a place where additional information outside the general/contact information can be kept.
TIP: Notes are useful when you have to create documentation about IEP check-ins.
Creating a Note
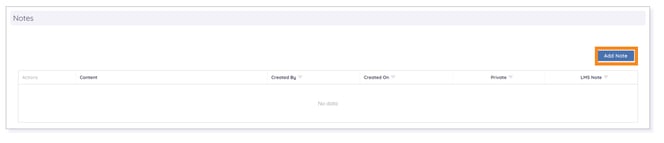
In Files & Notes, select Add Note.
The note creation form displays. Enter the text for your note into the textbox in the Content field.
NOTE: The asterisk * indicates a required field.
TIP: Use the formatting toolbar to manipulate your text.
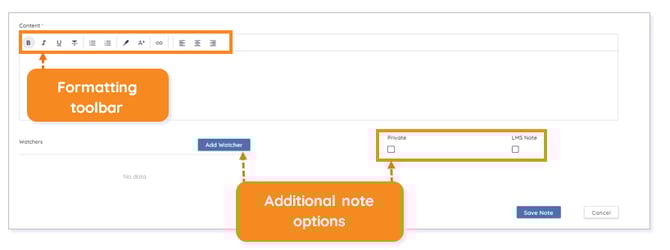
Optionally, click the Private checkbox to mark the note private.
IMPORTANT: For Buzz LMS users, selecting the LMS Note checkbox will flag the student in the teacher's gradebook.
WARNING: For Buzz LMS Users, the details within the Content box are displayed as the student's Individualized education program notes within Buzz. This will only retain the most recent LMS Note from Pulse.
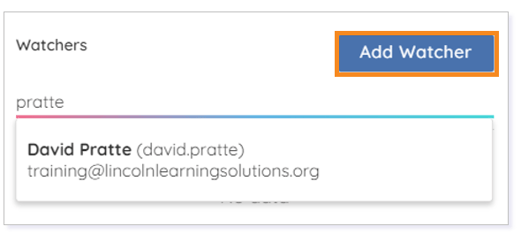
To add a watcher to the note, click Add Watcher, and begin to type a Username, Full Name, Last Name, or Email. Then, select the appropriate user from the list.
Click Save Note or Cancel.
Other Note Options

Click here to return to the top of the article.
Please note the images found in this resource may not match your screen. Access and/or features may vary based on client contract.
© 2025 Lincoln Learning Solutions. All rights reserved.