
Enrollment Options
Below are ways to manage user and student enrollments.
- Uses with the Client Administrator role can create and manage students, mentors, and enrollments in Pulse.
NOTE: If you are ordering kits and materials for your students, you must provide the shipping address. Otherwise, these items will go to the address on file for the school.
- You can also leverage our Client Success Team for assistance and support. Reach out to your assigned Client Success Specialist with any questions.
IMPORTANT: Student accounts must be created in Pulse prior to adding enrollments. Please allow up to 48 business hours for processing each request.
Enrolling Students as a Client Admin
You can enroll a student from either the Student User Record or the Class Record in Pulse.
IMPORTANT: Some classes may have an Enrollment Cap. This cap is a recommendation only. No Enrollment Cap of zero is the default. This means there is no cap set on the course. Enrollments are still able to be processed as long as the class is still Allowing New Enrollments. The enrollment may not be able to be processed if the cap is closed, and Allowing New Enrollments is unselected by Lincoln Learning Solutions.
Creating a Student Enrollment from the Student User Record
TIP: This is ideal if you are enrolling a single student into multiple courses.
This video highlights how to enroll a student into a course using the student record. Click the Play button below to get started, or read the written directions below.
Run Time: 02:57
In Users, search for the student you wish to enroll.

Click the Full Name hyperlink of the student you wish to enroll.

The student’s Information record displays. Click the Enrollments tab. Then, select Enrollments from the drop-down menu.

The student’s Enrolled Classes list displays. Click Add New Enrollment.

The enrollment form displays. From the Search Classes drop-down menu, use the dropdowns to narrow your search results.
To sort by Product, click Select Product and choose the appropriate product.

- Lincoln Empowered: These are Lincoln Learning Solutions' general courses that contain the unique Learning Object design.
- Credit Recovery: Utilizing Lincoln Empowered content, these courses contain pre- and post-tests delivering a unique student pathway. Click here to learn more about Credit Recovery.
- Lincoln Empowered - Auto-graded: Students will complete Lincoln Empowered content in association with only auto-graded assessments. Click here to learn more about Auto-graded Courses.
- State Empowered: These are courses built entirely from state-specific standards and demonstrate a complete alignment to the given standard frameworks. Click here to learn more about State Empowered Courses.
- Lincoln Honors: Courses that include more rigorous assessment and a culminating summative exam at the end of each semester.
Click Select Teaching Entity and choose your teaching entity from the drop-down menu.

IMPORTANT: Lincoln Learning Solutions Teacher or Lincoln Learning Solutions State Certified Teacher are only available if you are enrolling in a Lincoln Learning Solutions teacher-led course. Click here to learn more about Lincoln Learning Solutions Teacher Facilitators.
Otherwise, select Client Teacher.
NOTE: Selecting Lincoln Learning Solutions Solutions Certified Teacher does not mean you are selecting a state aligned course.
To narrow your search by alignment, select National or a specific state from the Select Alignment dropdown. This option can be skipped if desired.
Finally, begin to type a class name into the Search Class field. Then, select the appropriate class from the drop-down menu.

The Class Name, Client, Code, and Status fields auto-populate.

NOTE: If the course you selected is configured to include the Learning Assistant, you will see an enabled checkbox populate.

IMPORTANT: By default, the Email checkbox is checked. Uncheck it if you do not wish to send a notification to the student’s email address.
Assign a Start Date and End Date. Finally, click Save Enrollment.

Creating a Student Enrollment from the Class Record
TIP: This is ideal if you are enrolling multiple students into a single course.
This video highlights how to enroll a student into a course from the class record. Click the Play button below to get started, or read the written directions below.
Run Time: 01:24
NOTE: This process can also be completed by navigating to Enrollments, then searching for the class in the data grid.

In Courses, search or filter for the class in which you wish to enroll the student.

Click the Course Name hyperlink to open the class record.

The class record displays. Click the Enrollments tab.

The enrollment record displays. Scroll down to Enrolled Students. Then, click Add Student.

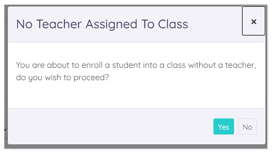
TIP: It is best practice to enroll a teacher in a class before you enroll any students. If you choose to enroll a student in a class without a teacher, a pop-up window displays asking if you wish to proceed.
The enrollment form displays. Begin to type the student’s Username, Full Name, Last Name, or Email into the Search Students field. Then, select the appropriate student from the drop-down menu.

The Full Name and Client fields auto-populate.

NOTE: If the course you selected is configured to include the Learning Assistant, you will see an enabled checkbox populate.
IMPORTANT: By default, the Email checkbox is checked. Uncheck it if you do not wish to send a notification to the student’s email address.
Select the Start Date and End Date as appropriate.

IMPORTANT: Status defaults to Active. If you wish to change the status, click the drop-down arrow and make your selection from the available options.

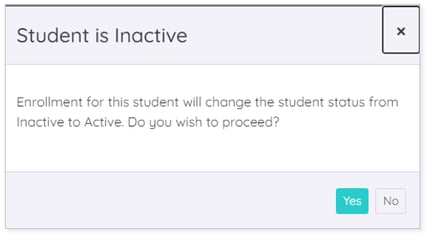
If the student you are enrolling is Inactive, a pop-up window displays asking if you wish to proceed. Proceeding automatically sets the student user record to Active.
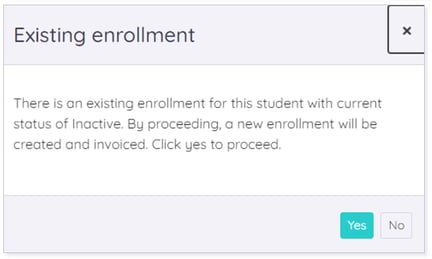
Additionally, if you are enrolling a student who had a previous enrollment status of inactive, you will see a warning asking if you want to proceed.
Click Save Enrollment or Cancel.

TIP: If you are a Lincoln Learning Solutions' team member, after the enrollment is added, you will see the icon to Start Purchase.
Please note the images found in this resource may not match your screen. Access and/or features may vary based on client contract.
© 2025 Lincoln Learning Solutions. All rights reserved.