
Creating interactive and engaging Discussion Boards in different Learning Management Systems (LMS) can significantly enhance student collaboration and learning experiences. Discussion boards serve as dynamic platforms where students can share ideas, debate topics, and develop critical thinking skills. By fostering a sense of community and encouraging active participation, these forums enable students to learn from one another and engage deeply with course content. Integrating discussion boards into your instructional strategy can lead to a more vibrant and interactive educational environment.
Adding the Discussion Board
Each LMS offers a variety of features that can assist in adding discussions boards for your students. Select your LMS to see more information.
If you do not see your LMS listed, visit your LMS help center for assistance.
Buzz
Click on the Editor icon on the Home Page or, if already in a course, from the Main Menu.

In the Editor, navigate to the folder where you want to add the discussion board.
Click the plus icon.

A new window opens where you can select the type of content you want to add.
Click Add on the Discussion tile.

NOTE: Click Built-in to see the default options available in Buzz. Other options are upgraded features which may come at an additional cost.
TIP: Use the Search feature to narrow your results and click the star to save your most used activity options.
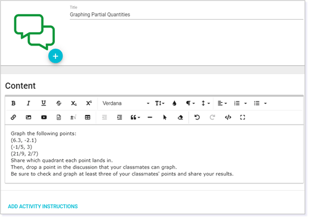
In the Activity tab, you can enter information about the discussion board.

The Title is the name of the discussion board that appears to students.
The Content holds the directions and prompt to which you want your students to respond.
Next, click the Settings tab for options to customize how your students will experience the discussion board.

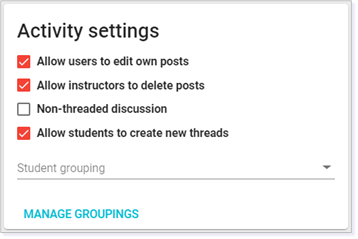
Under Activity settings, decide if you want to:
- Allow users to edit their own posts.
- Allow the instructor to delete a post.
- Create a non-threaded discussion.
- Allow students to create new threads.
- Use student groups you have already created.
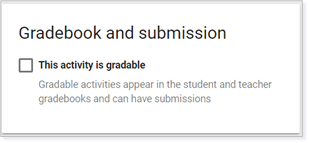
Gradebook and submission allow you to make the discussion board gradable and will add it as an activity in the gradebook. Read Buzz Editor: Creating Assessments article to learn more about making an activity gradable.
TIP: For additional details on other Setting options, please read the Activity Settings article.
Once you have entered information for the discussion board and selected your settings, you can preview and save it. Click Preview to see how the discussion board will appear and Save if you are finished.

Using Discussion Boards
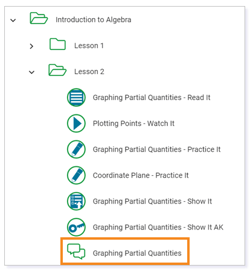
From within Activities, open the folder that contains the Discussion Board.
Click on the Discussion Board title to open.
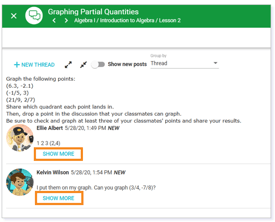
The original question and a thread of answers appears.
To read the full answer, click SHOW MORE.
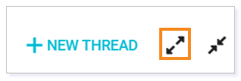
TIP: Another way to expand the response is by clicking on the Expand all icon.
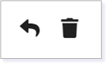
To respond, click on the reply icon to the right of the thread.
Messages can also be deleted using the trash can icon.
The reply can include text, images, and even attachments.
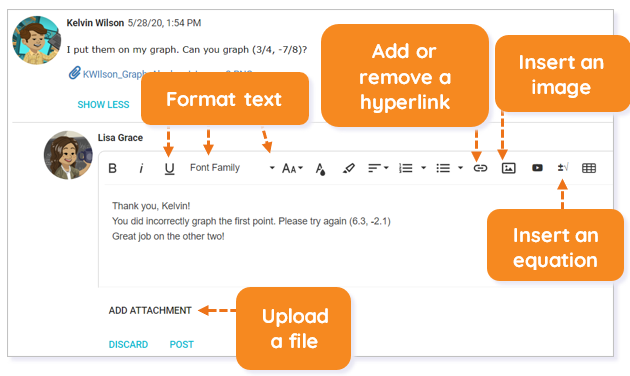
TIP: For more detailed information on the buttons found in the text editor, please see the Buzz Text Editor Options article.
To add the reply to the discussion board, click the POST button.

Grading a Discussion Board
To grade a Discussion Board, first mark the activity as gradable in the settings.
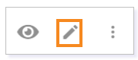
In the editor of the course, find the Discussion Board activity. Click on the pencil icon to the right of the activity.
Navigate to the SETTINGS tab at the top of the page.

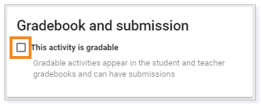
On the Gradebook and submission tile, be sure the box next to This activity is gradable is checked.
You can change the properties of this gradable item once the box is marked.

Once a gradable Discussion Board item is completed by a student, you will see the item displayed as a notification in the NEEDS GRADING area of the Home page of the Teacher App. Click on this notification area to take you to the assignment that needs to be graded.

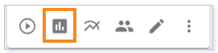
You can find the submitted assignment in the gradebook. To navigate to the gradebook, click on the Gradebook icon on the Home Page. If you are already in the course, click on the icon from the Main Menu.
For more information on grading the Discussion Board assignment, please review the Grading Student Work article or the Using the Gradebook article.
Click here to return to the top of the article.
Canvas
Discussion boards can be created in Canvas to spark conversations from the teacher. Open the Discussion link from the left panel and click the + Add Discussion button. View the Discussions Overview resource for more details.

Schoology
Discussions can be added to courses through the Add Materials drop down menu. Additional steps can be viewed in the Course Materials: Discussions resource.

Click here to return to the top of the article.
Please note, the images that may be found in this resource may not match your screen.
This is a Lincoln Learning Solutions product. Access/features may vary based on client contract.
© 2021 Lincoln Learning Solutions. All rights reserved.